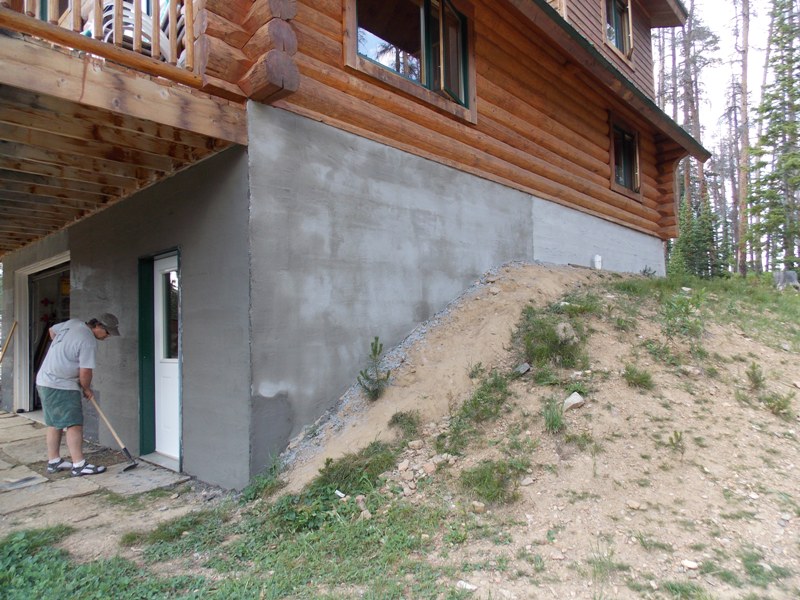
??m.cabin.header_en_GB_CAB??
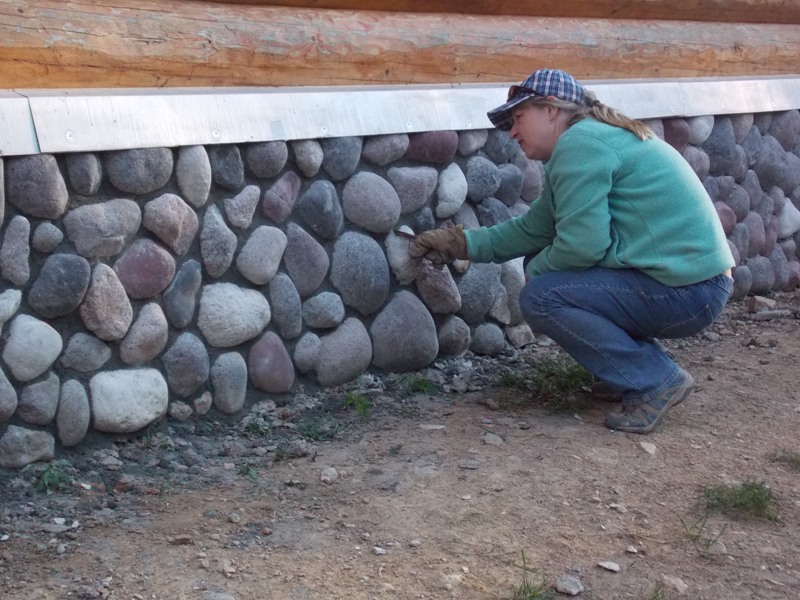
??m.cabin.stone.info_en_GB_CAB??
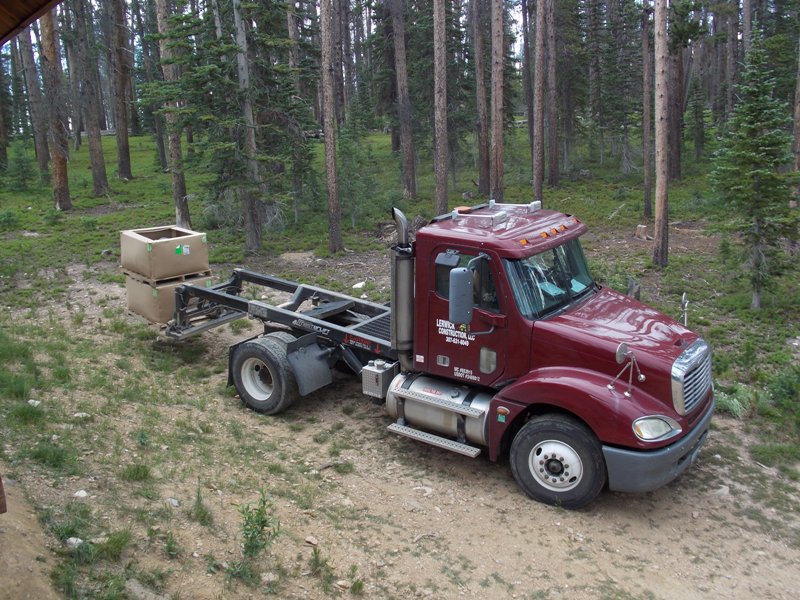
??m.cabin.stone.info2_en_GB_CAB??
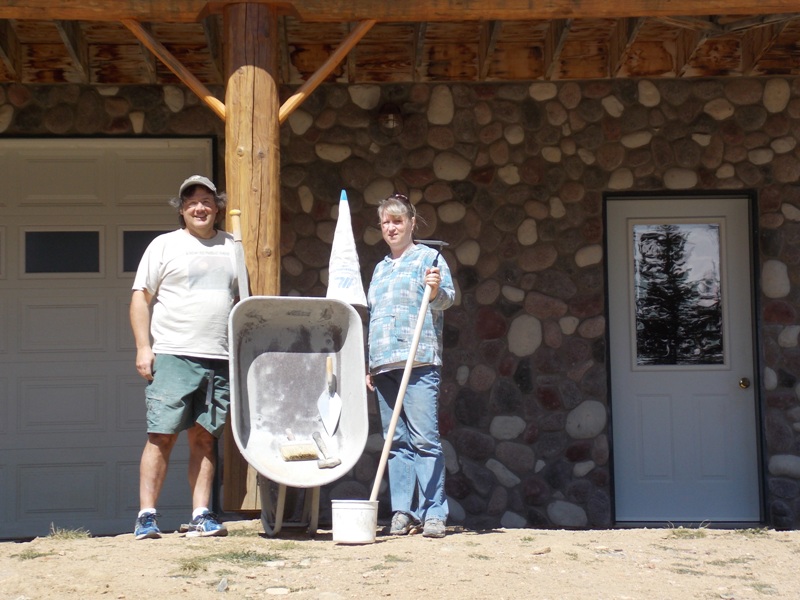
??m.cabin.stone.info3_en_GB_CAB??

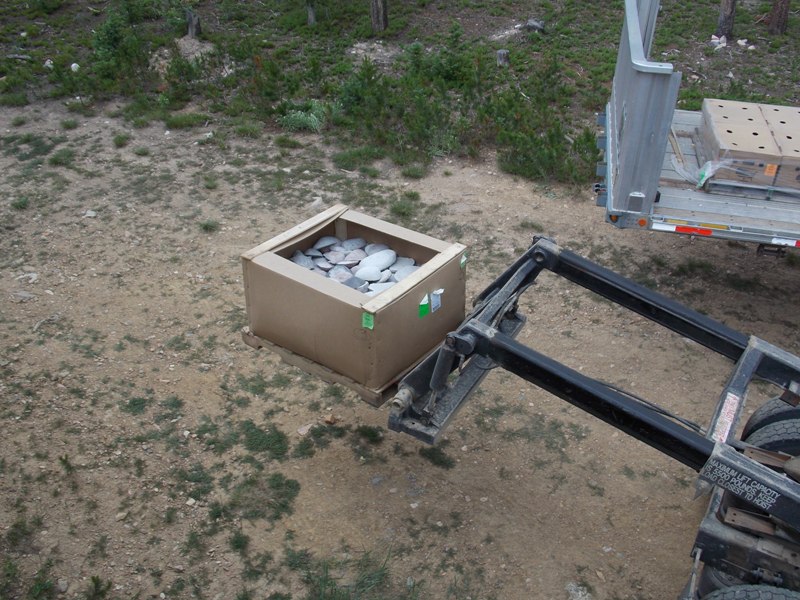
??m.cabin.stone.info4_en_GB_CAB??

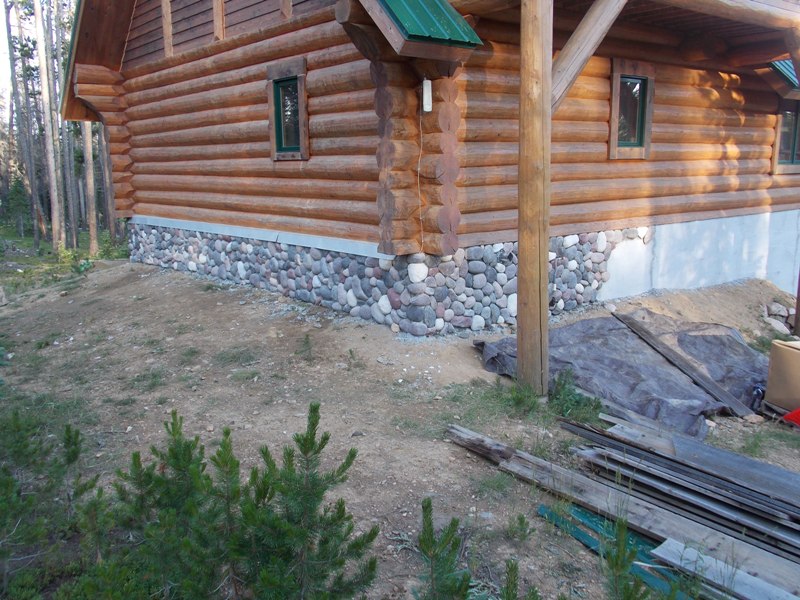

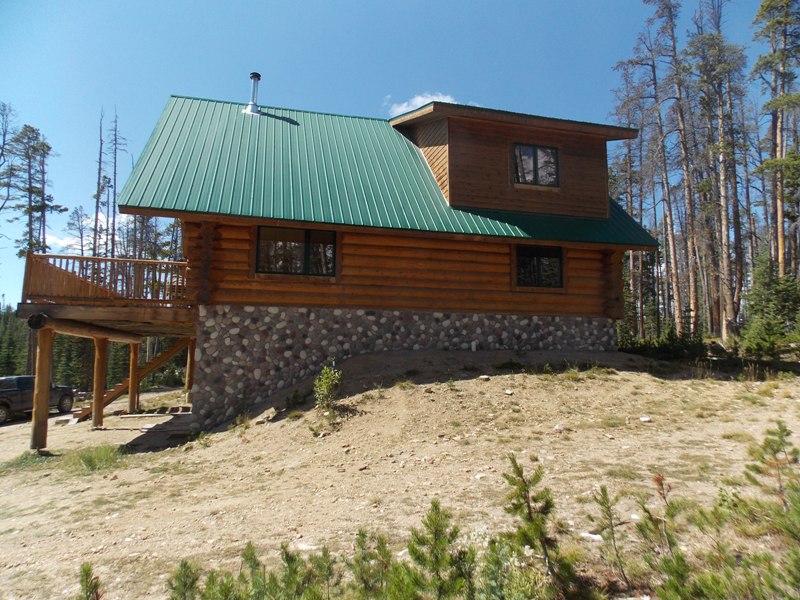
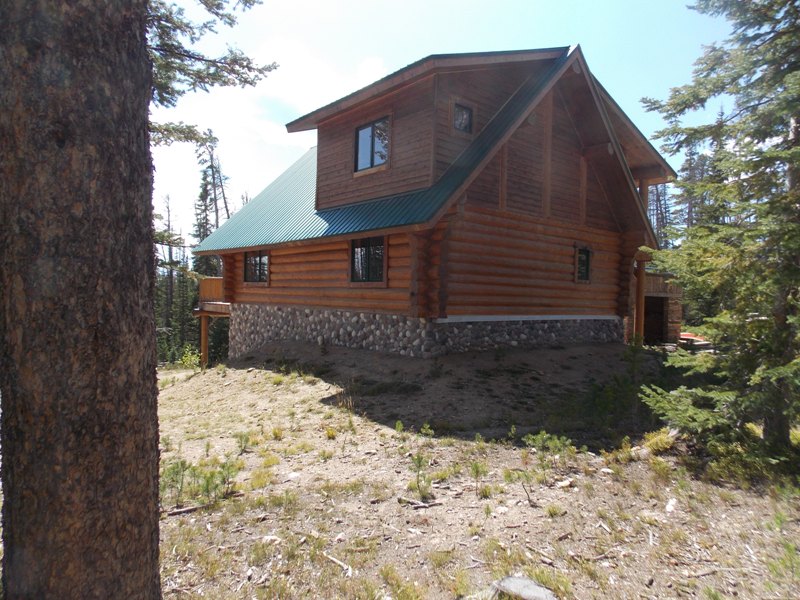
??m.cabin.stone.info5_en_GB_CAB??