??m.cabin.header_en_GB_CAB??
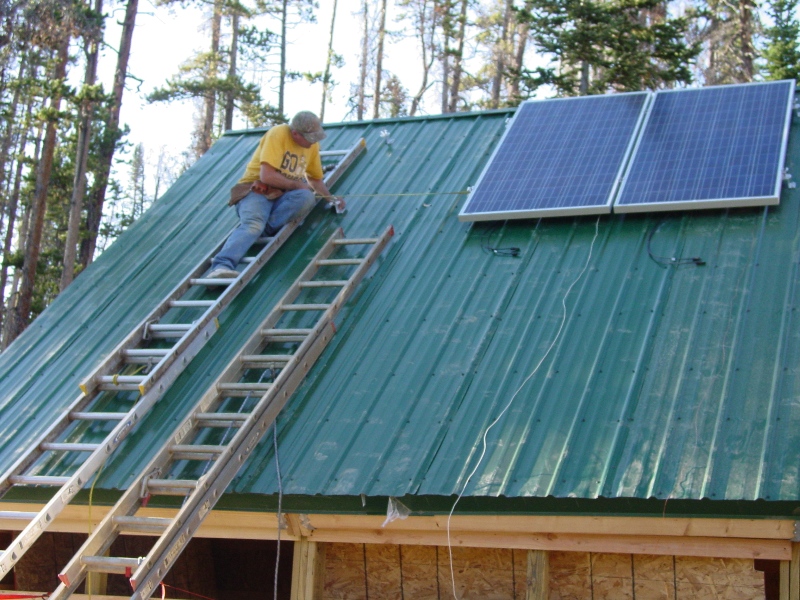
??m.cabin.solar.info_en_GB_CAB??


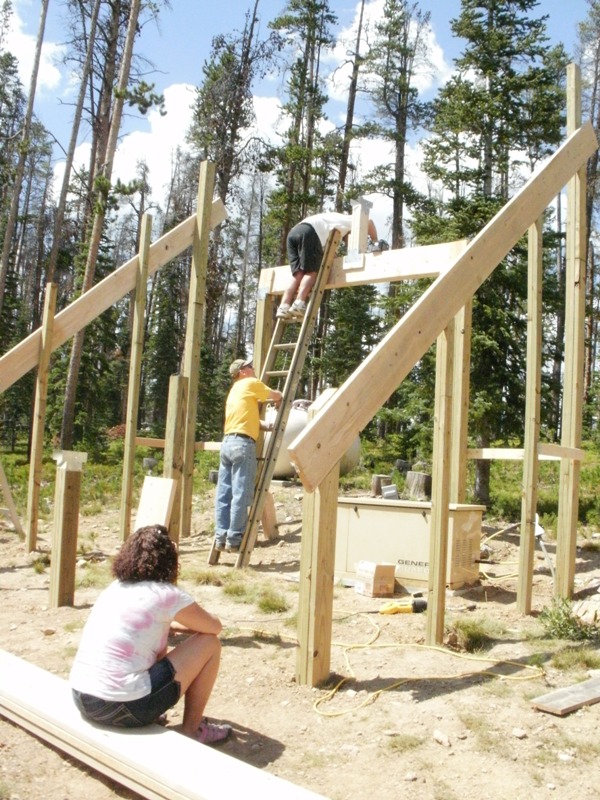
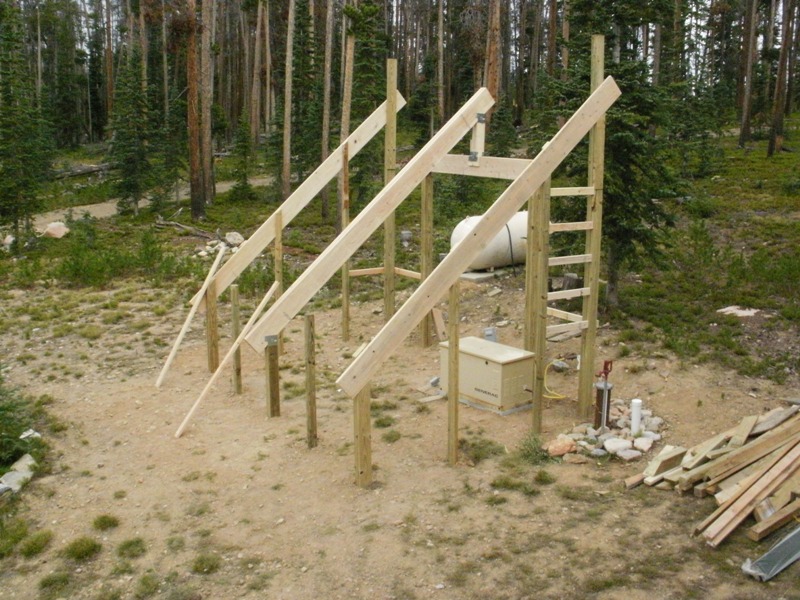
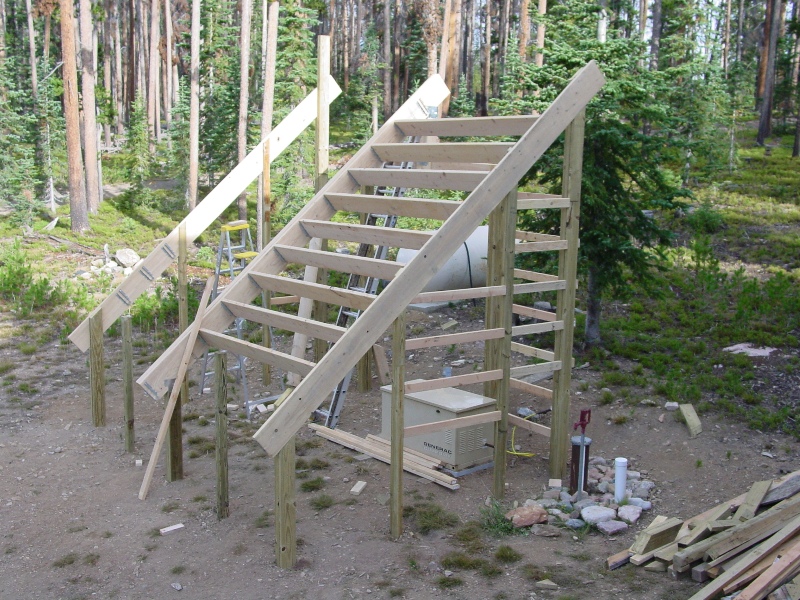


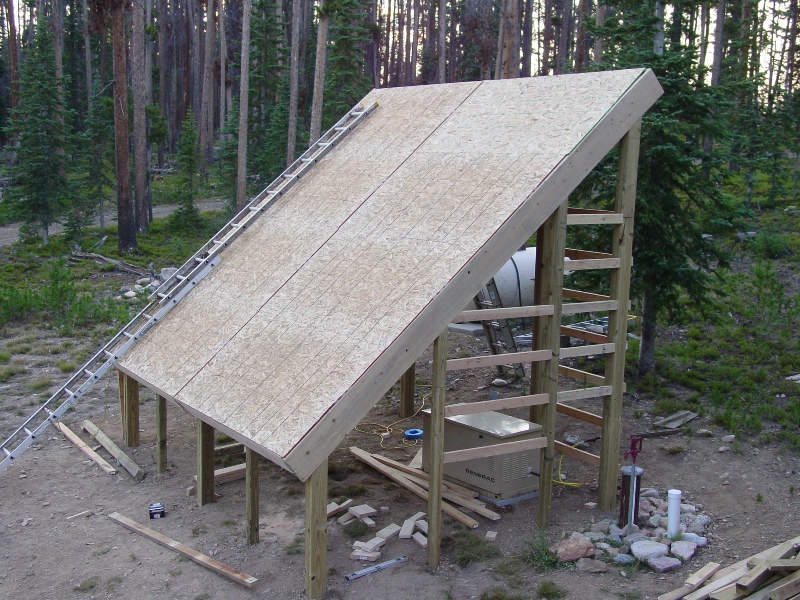

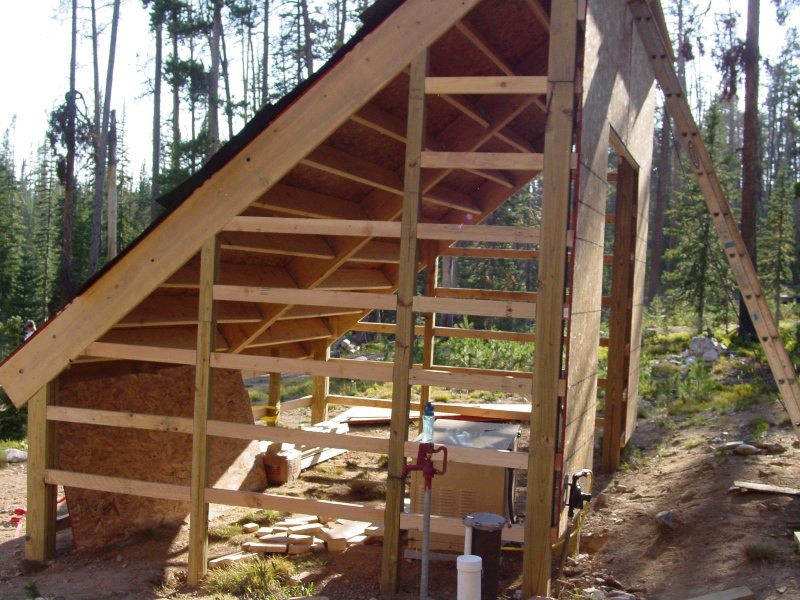
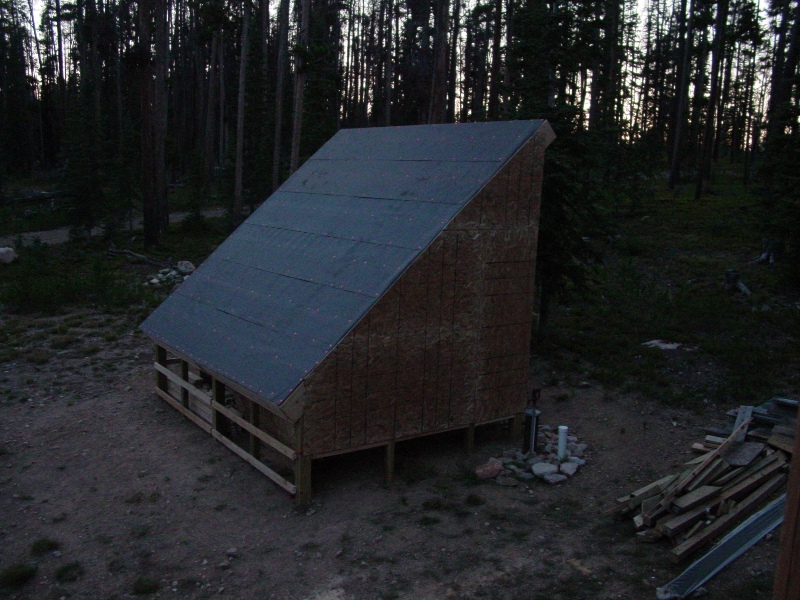
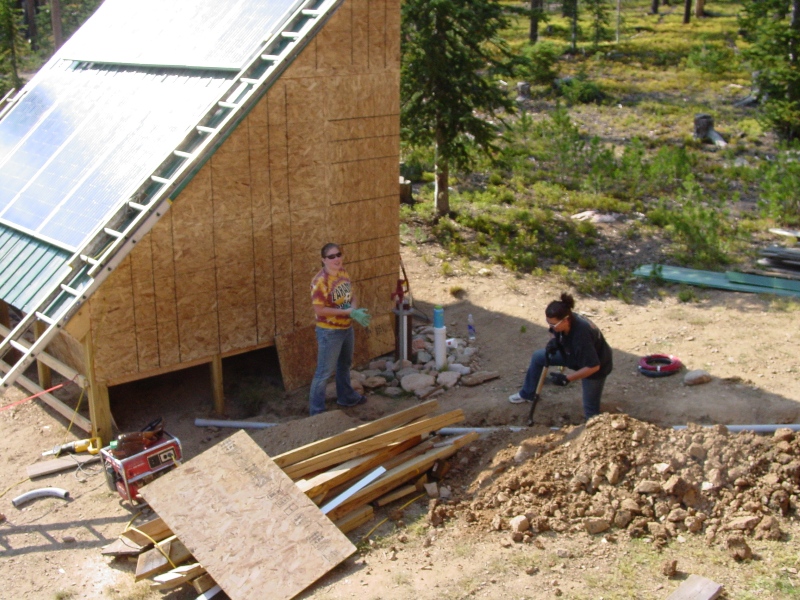
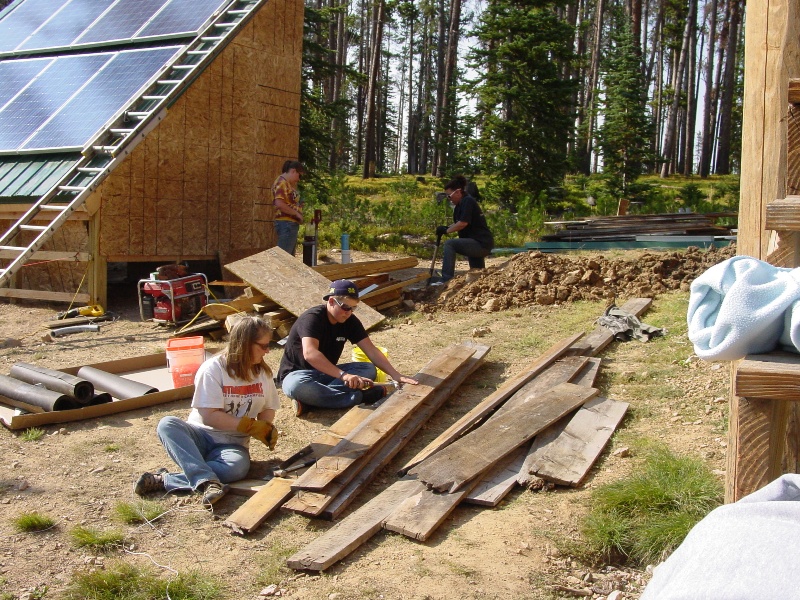
??m.cabin.clickOnThumbnails_en_GB_CAB??
??m.cabin.solar.info2_en_GB_CAB??
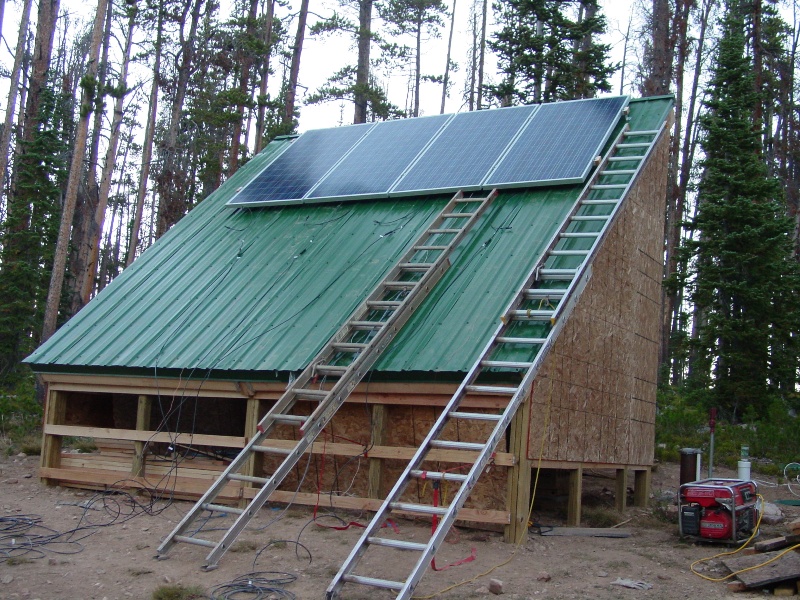


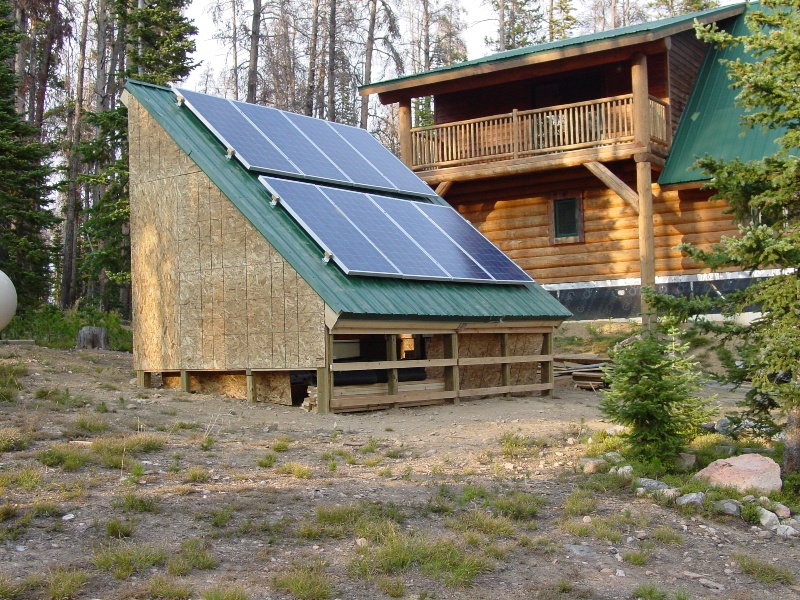

??m.cabin.solar.info3_en_GB_CAB??